New Bin Range Dialog
The New Bin Range dialog appears when setting custom bin values for a histogram, 3D histogram, rose diagram, or wind chart. This dialog allows each bin to have a custom defined minimum and maximum value. It also allows the number of bins to be customized.
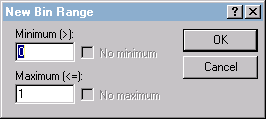
The New Bin Range dialog sets the minimum
and maximum values for a custom bin.
To open the New Bin Range dialog,
- Select a histogram, rose diagram, wind chart, or 3D histogram.
- Click the Plot tab in the Property Manager.
- Set the Bins type to Custom bins.
- Click the Edit button next to Bins to open the Custom Bins dialog.
- In the Custom Bins dialog, click the Add Bin button to open the New Bin Range dialog.
Minimum
The value in the Minimum (>) box indicates the minimum value for the selected bin. This value is not included in the bin. To change the Minimum value, highlight the existing value and type a new number.
No Minimum
Check the No minimum box if this is the first bin in the plot. If the No minimum box is checked, all values less than or equal to the value in the Maximum box will be included in this bin. After the box is initially checked, it is disabled for all other bin definitions.
Maximum
The value in the Maximum (<=) box indicates the maximum value for the selected bin. This value is included in the bin. To change the Maximum value, highlight the existing value and type a new number.
No Maximum
Check the No maximum box if this is the last bin in the plot. If the No maximum box is checked, all values greater than the value in the Minimum box will be included in this bin. After the box is initially checked, it is disabled for all other bin definitions.
OK or Cancel
Click OK to make the change to the selected bin and return to the Custom Bins dialog. Click Cancel to return to the Custom Bins dialog without making the change.