View, Edit, and Save Data
A data file is a file that contains columns or rows of data values. At minimum, two columns or rows are required to create most 2D graphs in Grapher. Data files can contain header information, labels, point identifiers, filter information, and data. It is often a good idea to examine the data file contents before creating your graph. The Grapher worksheet can be used to create a new data file. Refer to the Worksheet Window help topic for information about the various components of the worksheet window.
Opening an Existing Data File
If you would like to view or edit data, you can open the data file in Grapher. There are several ways to view a data file. If a graph has already been created, the most common method to view the data is to use the Worksheet Manager. If a graph is not yet created, you can open the data in the worksheet window.
-
Click File | Open to open the Open dialog.
-
Browse to the Samples directory at C:\Program Files\Golden Software\Grapher\Samples by default.
-
Click Open to display the data in the worksheet window.
Notice that there are several columns of data. This EPA data set 1 illustrates the changes in annual average temperatures across the contiguous 48 states compared to 1901, from 1960-2021. Column A contains the year data, column B contains the temperature anomaly in degrees Fahrenheit, and column C categorizes the data into distinct classes (bins). Row 1 contains header text, which is helpful for identifying which column contains which data. When a header row exists, the information in the header row is used in the Property Manager when selecting worksheet columns.
1Data source: NOAA (National Oceanic and Atmospheric Administration). (2024). Climate at a glance.
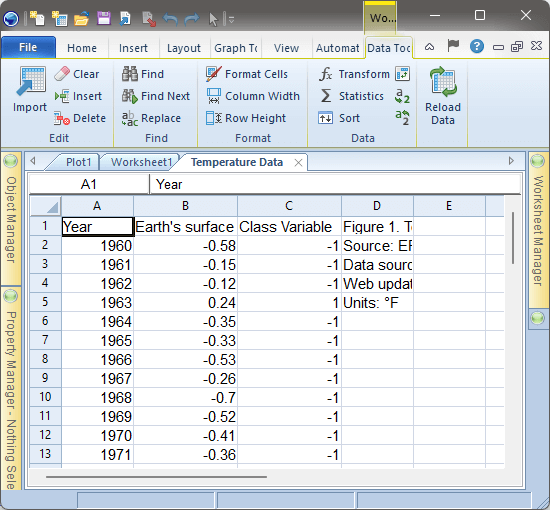
The data is displayed in a worksheet window. Note that each variable is a separate column.
Row 1 contains a description of what the column contains
Editing Data
To edit any value, click in the cell to select it. Type information and the existing value is overwritten. Data can be sorted, transformed, or transposed in this window. You can also calculate statistics for the worksheet data in this window, or have new columns or rows added. For instance, if we want to add some statistical information to the left of the source data information.
-
Click on the column label D.
-
Press and hold the SHIFT key, click on the column label E then release the SHIFT key.
-
Click the Data | Edit | Insert command to insert two empty columns of data.
-
Click on the header B to select the temperature data.
-
Click the Data | Edit | Statistics command.
-
In the Statistics dialog, select the items that should be displayed. In this case, we are interested in the maximum value, minimum value, and mean. From the Select items to compute list, make sure the only items selected are:
- Minimum
- Maximum
- Mean
-
Select Copy to worksheet and set the Starting in cell to D1 to display the summary information in the same worksheet as the actual data instead of in a report window.
-
Click OK and the statistics are displayed in columns D and E
Statistical values can be compared visually, and plots can be created directly from the statistical information if desired. After completing the steps above your worksheet will look like image below.
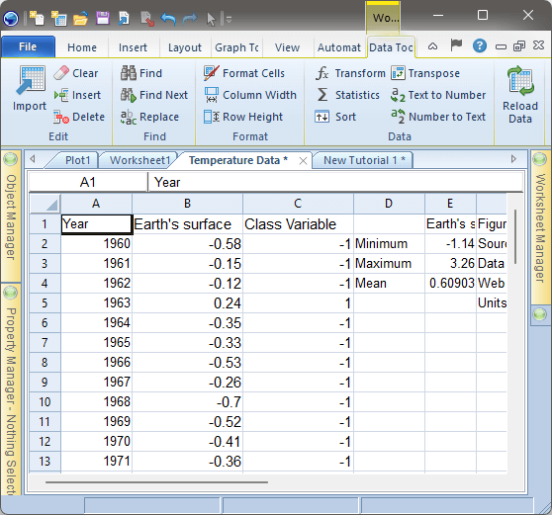
The updated worksheet window. Note the statistical information added in columns D and E.
Save Data
When you have completed editing the data, the file can be saved in a variety of formats.
-
Click File | Save As to open the Save As dialog.
-
Navigate to a folder where you want to save your new data file, such as the Documents folder.
-
In the Save as type list, choose the XLSX Excel 2007 Spreadsheet (*.xlsx)option.
-
Type Temperature Data in the File name field if it is not there already.
-
Click Save.
|
|
|
|
